> For the complete documentation index, see [llms.txt](https://docs.catalyx.solutions/llms.txt). Markdown versions of documentation pages are available by appending `.md` to page URLs; this page is available as [Markdown](https://docs.catalyx.solutions/catalyx-blockchain-manager/canton-network/version-1.11/validator-management/validator-management-with-integrated-keycloak.md).
# Validator Management with Integrated Keycloak
This page explains how to use Catalyst to create and deploy Validators on the Canton network with Integrated Keycloak. In this mode, Catalyst provisions and configures Keycloak automatically as part of the validator deployment, you don't need to bring or manage your own identity provider.
Keycloak is a login and user-management system: it verifies who you are, lets you sign in securely, and controls what you're allowed to access. When you create a validator with integrated Keycloak, Catalyst uses Keycloak as the security gate for all validator services, automatically creating the required users and connecting components such as the Wallet UI and APIs.
{% hint style="info" %}
This guide is for the **Default** authentication option with integrated Keycloak. To set up a validator with a custom identity provider, see [Create Validator with Custom Identity Provider](broken://pages/1d459ba5d7a4cfbd01fe511c1d03b5a8a26223cd).
{% endhint %}
### Validator Management
Validators can be deployed on Catalyst and seamlessly connected to the Canton Network.
#### Set Up a Validator
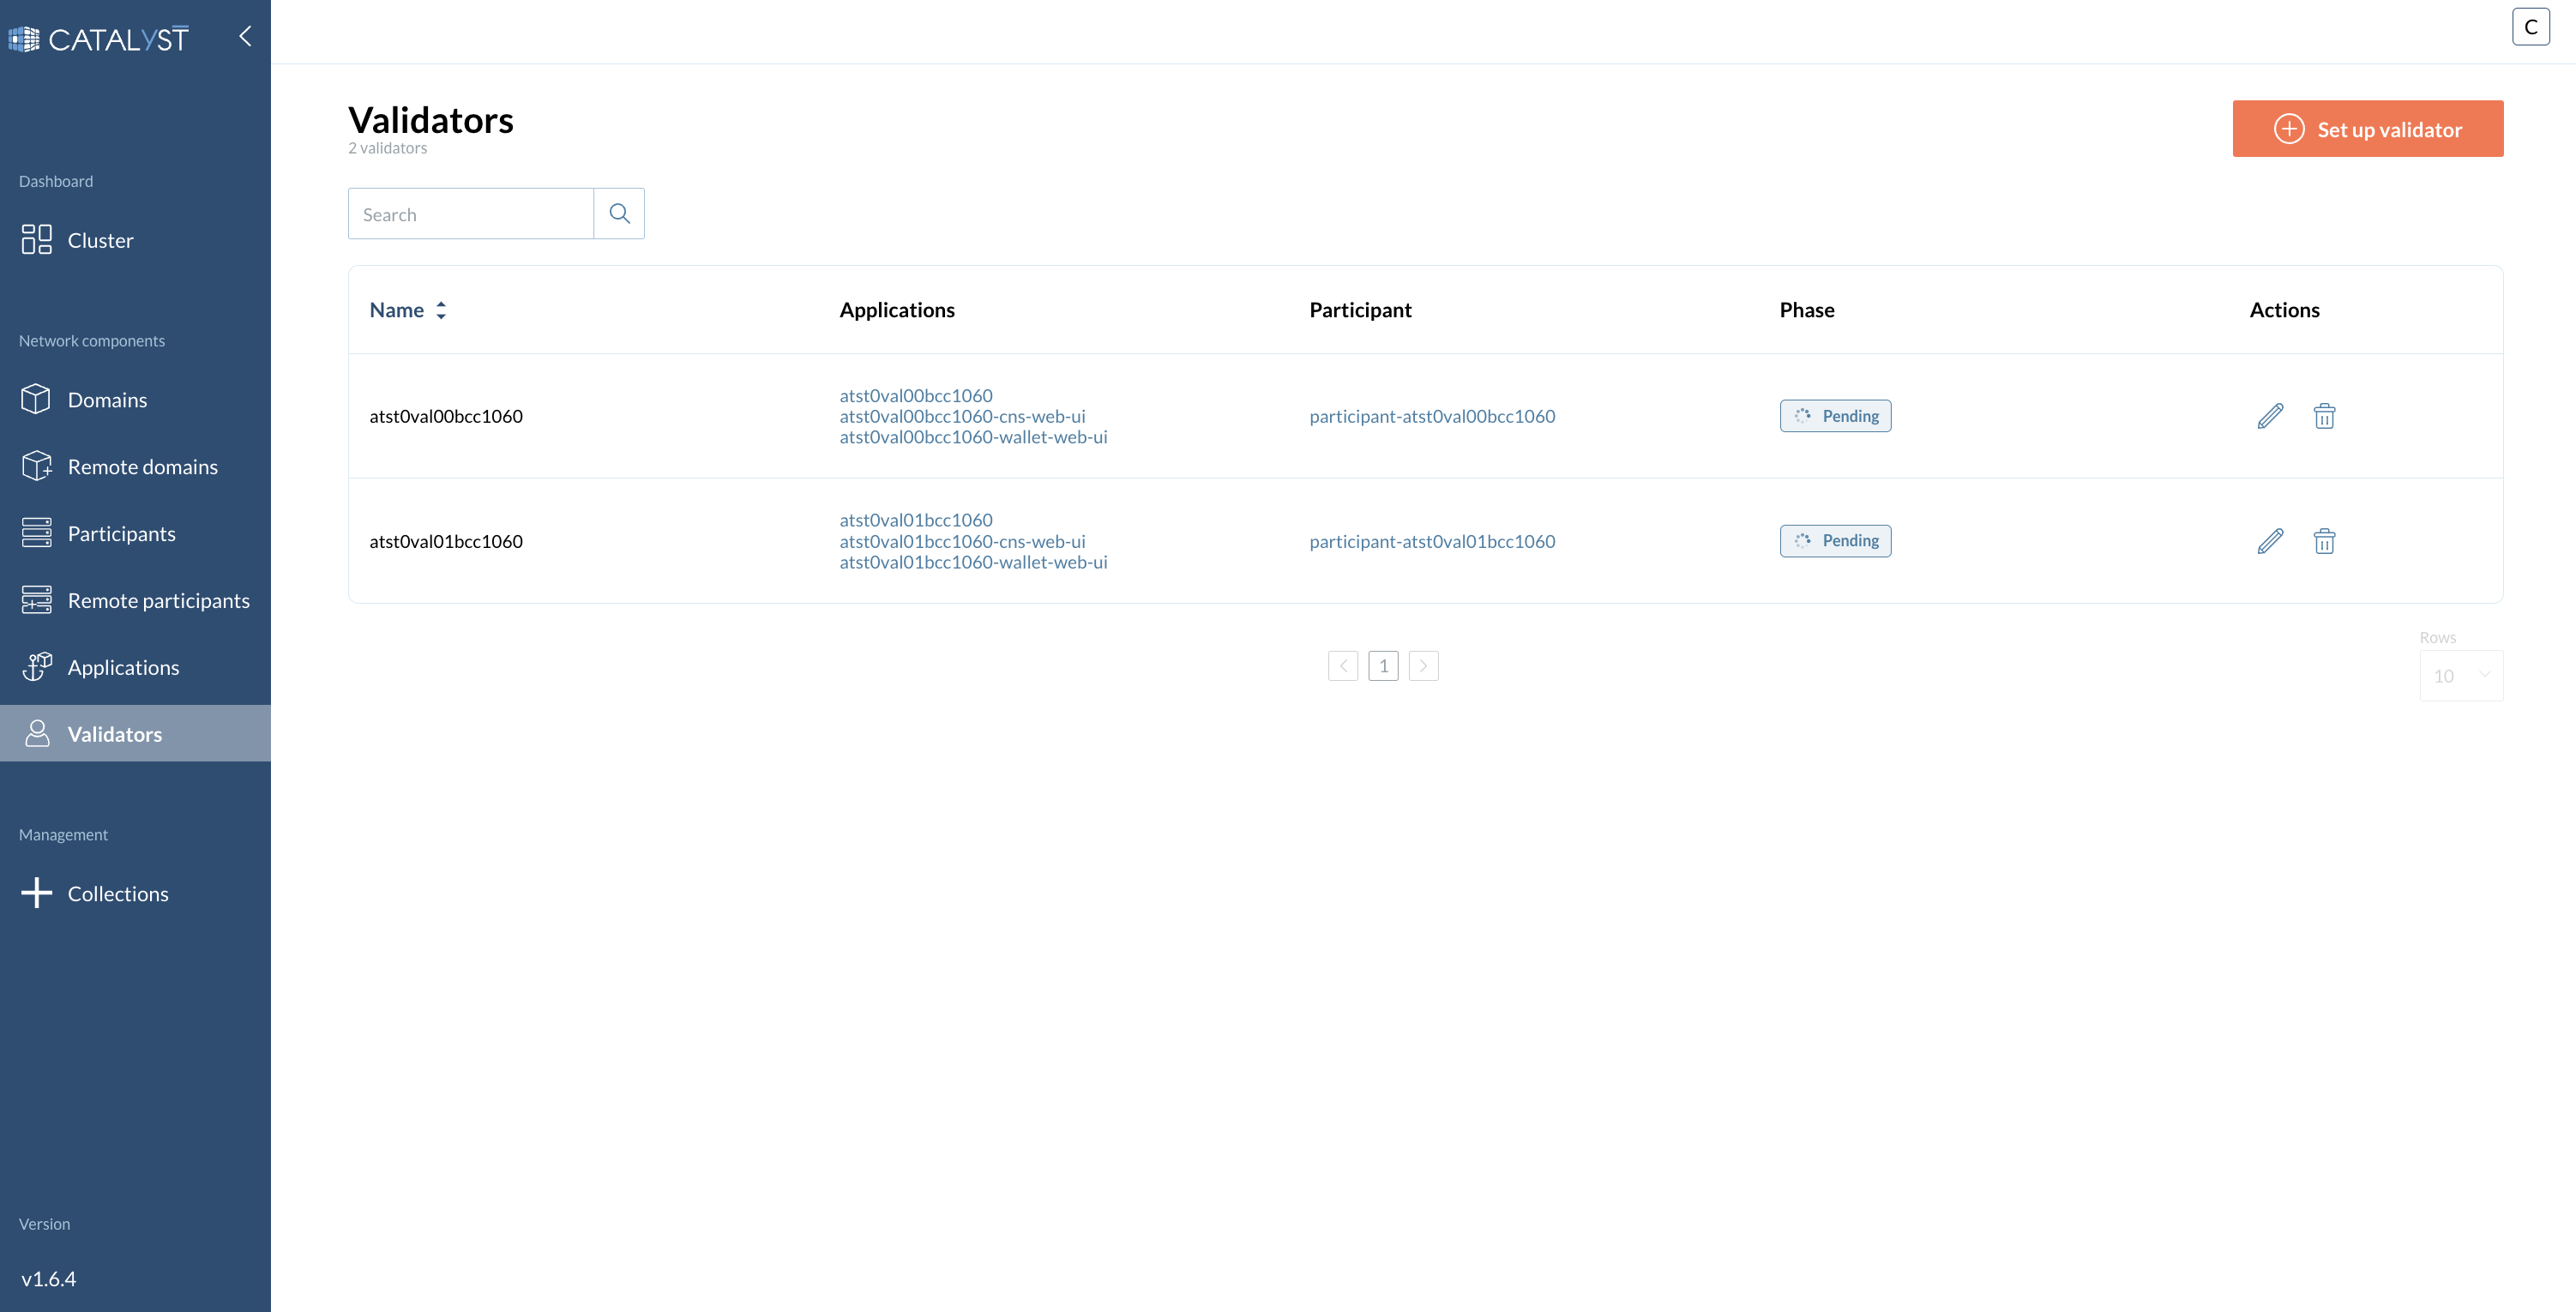
To set up a Validator, go to the **Validators** tab and click the **Set up validator** button to open a side window.
{% stepper %}
{% step %}
**Main Settings Configuration**
Provide the following information:
* Sponsor SV Name
* Name
* Onboard secret
* Image tag
* Image repo
* Image pull secret
* Scan address
* SV sponsor address
* Party hint
* Migration id
More info about these fields
| Field | Description |
| ---------------------- | --------------------------------------------------------------------------------------------------------------------------------------------------- |
| **Sponsor SV Name** | The name of the Super Validator that sponsored you to join the network |
| **Name** | The identifier or label for the validator node |
| **Onboard secret** | Passphrase obtained from the super validator in order to join the network |
| **Image tag** | The specific version or tag of the container image to be used |
| **Image repo** | The repository where the container image is stored |
| **Image pull secret** | Credentials required to pull the container image from a private registry (`secret docker-registry`) |
| **Scan address** | The address used for scanning and retrieving validator-related data |
| **SV Sponsor Address** | URL of the SV app of the super validator sponsoring you. Typically starts with `https://sv.sv-N` |
| **Party hint** | Used as a prefix for the Party ID of your validator's administrator. Format: `--`, e.g., `myCompany-myWallet-1` |
| **Migration id** | Used to track database migrations. Starts at `0` for the initial deployment and increments by 1 with each migration |
{% hint style="info" %}
An onboarding secret should be requested from your sponsoring SV in order to join the network.
{% endhint %}
{% hint style="warning" %}
Only turn on the **Restore participant identities** toggle if you want to restore a validator from an Identity Dump.
{% endhint %}
{% endstep %}
{% step %}
**Cluster Configuration**
Provide the following information:
**2.1 — Enable or disable:**
* Disable wallet
* Fail on app version mismatch
* Disable probes
**2.2 — Fill in the remaining fields:**
* Default JVM Options
* Top up:
* Enable
* Min Top up interval
* Target throughput
* Contact point
More info about these fields
| Field | Description |
| -------------------------------- | ------------------------------------------------------------------------------------------------------------------ |
| **Disable wallet** | Turn on to not deploy a wallet UI with your validator |
| **Fail on app version mismatch** | If enabled, the deployment will fail if there is a mismatch between the validator and network application versions |
| **Disable probes** | Probes test the health of a deployment. It is recommended to not disable them in standard scenarios |
| **Default JVM Options** | Default configuration options for the Java Virtual Machine (JVM) running the validator |
| **Top up** | Enables or disables the validator's automatic traffic purchase mechanism |
| **Min Top up interval** | Minimum amount of time that must pass between two automatic top-ups |
| **Target throughput** | Desired average traffic rate in bytes per second |
| **Contact point** | Where the validator can be reached for operational or administrative communication |
{% hint style="danger" %}
Do **not** set the Custom Authentication flag on — these instructions are for integrated Keycloak configuration. To use a custom identity provider instead, see [Create Validator with Custom Identity Provider](broken://pages/1d459ba5d7a4cfbd01fe511c1d03b5a8a26223cd).
{% endhint %}
{% endstep %}
{% step %}
**Cluster Participant Configuration**
Provide the following information:
* Node Identifier
* Enable or disable:
* Expose Ledger API
* Private JSON API
* Default JVM Options
More info about these fields
| Field | Description |
| ----------------------- | --------------------------------------------------------------- |
| **Node identifier** | A unique identifier for the validator node within the network |
| **Expose ledger API** | Opens up GRPC Ledger API to the outside |
| **Private JSON API** | Closes JSON Ledger API (open by default) |
| **Default JVM Options** | Default configuration options for the JVM running the validator |
**3.1 — Database Type**
{% tabs %}
{% tab title="PostgreSQL" %}
A PostgreSQL database will be created automatically.
* Database User
* Database Password
{% endtab %}
{% tab title="External Database" %}
Connect to an external database of your choice.
* Database User
* Database Password
* Host/IP address
* Port number
{% endtab %}
{% endtabs %}
{% endstep %}
{% step %}
**Configure Resources**
Configure the necessary resources:
* Requested CPU
* CPU limit
* Requested memory
* Memory limit
* Replicas
More info about these fields
| Field | Description |
| -------------------- | -------------------------------------------------------------------- |
| **Requested CPU** | Minimum amount of CPU resources requested for the validator node |
| **CPU limit** | Maximum amount of CPU resources the validator node is allowed to use |
| **Requested memory** | Minimum amount of memory requested for the validator node |
| **Memory limit** | Maximum amount of memory the validator node is allowed to use |
| **Replicas** | Number of instances of the validator node to run |
{% hint style="info" %}
The pre-filled figures for resource configuration are a standard recommendation. Please adapt to your unique scenario if needed.
{% endhint %}
{% endstep %}
{% step %}
**Configure Environment Variables**
Override the values of the environment variables for the following components:
* Participant node
* Validator backend
* Canton Name Service UI
* Wallet UI
More info about these components
| Component | Description |
| -------------------------- | ----------------------------------------------------------------------------- |
| **Participant node** | The node that interacts with the Canton ledger on behalf of participants |
| **Validator backend** | The backend service responsible for validating and processing transactions |
| **Canton Name Service UI** | The UI for managing and viewing Canton network names and identifiers |
| **Wallet UI** | User interface for interacting with the wallet associated with your validator |
{% hint style="danger" %}
This is a very specific configuration. If you are not sure about this step, please contact IntellectEU.
{% endhint %}
{% endstep %}
{% step %}
**Summary**
Review your Validator configuration. Once you have confirmed the settings, click the **Confirm** button to finalize and proceed with the deployment.
{% endstep %}
{% step %}
**Create a Permanent Password in Keycloak**
To access the wallet UI, you must first define a new password in Keycloak.
1. Save the credentials displayed in the pop-up window.
2. Once your node is up and running, click on the last link containing the text `wallet-web-ui`, then click the link at the top left part of the screen.
3. A pop-up will ask you to re-authenticate. Close your session by clicking the **Log out** button.
4. Insert the temporary credentials saved in the previous step to authenticate yourself.
5. Define a new password and click **Submit**. You will be forwarded to the wallet UI console of your new Validator.
{% endstep %}
{% endstepper %}
***
### Identity and Access Management
As part of the validator provisioning process, Keycloak is set as the identity provider for authentication and authorization across the validator infrastructure. Each validator is assigned a dedicated user (`$VALIDATOR_NAME_walletuser`) within a specific realm (`validator`) for secure access to services.
{% hint style="danger" %}
We strongly recommend updating the password for this user after the initial setup to maintain security and reduce risks associated with default credentials.
{% endhint %}
#### Resetting the Wallet User Password in Keycloak
{% stepper %}
{% step %}
**Log in to the Keycloak admin console**
* **URL:** `https:///auth/admin/`
* Use an account with administrative access.
{% endstep %}
{% step %}
**Navigate to the validator realm**
From the top-left dropdown menu, select **validator**.
{% endstep %}
{% step %}
**Locate the wallet user**
In the left sidebar, click on **Users** and use the search field to find `$VALIDATOR_NAME_walletuser`.
{% endstep %}
{% step %}
**Access the user's credentials**
Click on the user to open their settings, then navigate to the **Credentials** tab.
{% endstep %}
{% step %}
**Reset the password**
* Enter a new password and confirm it.
* Toggle **Temporary** to **OFF** if you do not want the user to be forced to reset the password upon next login.
* Click **Reset Password**.
{% endstep %}
{% step %}
**Verify the changes**
Test the new password by authenticating the service or using the Keycloak test login page (if enabled).
{% hint style="warning" %}
Make sure to store the new password securely and update any dependent services or configuration files if needed.
{% endhint %}
{% endstep %}
{% endstepper %}
Additional Keycloak documentation resources
* [Keycloak Documentation – Managing Users](https://www.keycloak.org/docs/latest/server_admin/#admin-cli)
* [Keycloak Admin Console Guide](https://www.keycloak.org/docs/latest/server_admin/#admin-console)
* [Resetting Passwords via Admin Console](https://www.keycloak.org/docs/latest/server_admin/#resetting-passwords)
***
---
# Agent Instructions
This documentation is published with GitBook. GitBook is the documentation platform designed so that both humans and AI agents can read, navigate, and reason over technical content effectively. Learn more at gitbook.com.
## Querying This Documentation
If you need additional information that is not directly available in this page, you can query the documentation dynamically by asking a question.
Perform an HTTP GET request on the current page URL with the `ask` query parameter, and the optional `goal` query parameter:
```
GET https://docs.catalyx.solutions/catalyx-blockchain-manager/canton-network/version-1.11/validator-management/validator-management-with-integrated-keycloak.md?ask=&goal=
```
`ask` is the immediate question: it should be specific, self-contained, and written in natural language.
`goal` is optional and describes the broader end goal you are ultimately trying to accomplish on behalf of the user. GitBook uses it to tailor the answer towards what is most useful for that goal.
The response will contain a direct answer to the question and relevant excerpts and sources from the documentation.
Use this mechanism when the answer is not explicitly present in the current page, you need clarification or additional context, or you want to retrieve related documentation sections.