> For the complete documentation index, see [llms.txt](https://docs.catalyx.solutions/llms.txt). Markdown versions of documentation pages are available by appending `.md` to page URLs; this page is available as [Markdown](https://docs.catalyx.solutions/catalyx-blockchain-manager/canton-network/version-1.10/network-and-node-management/participants.md).
# Participants
## What is a Participant?
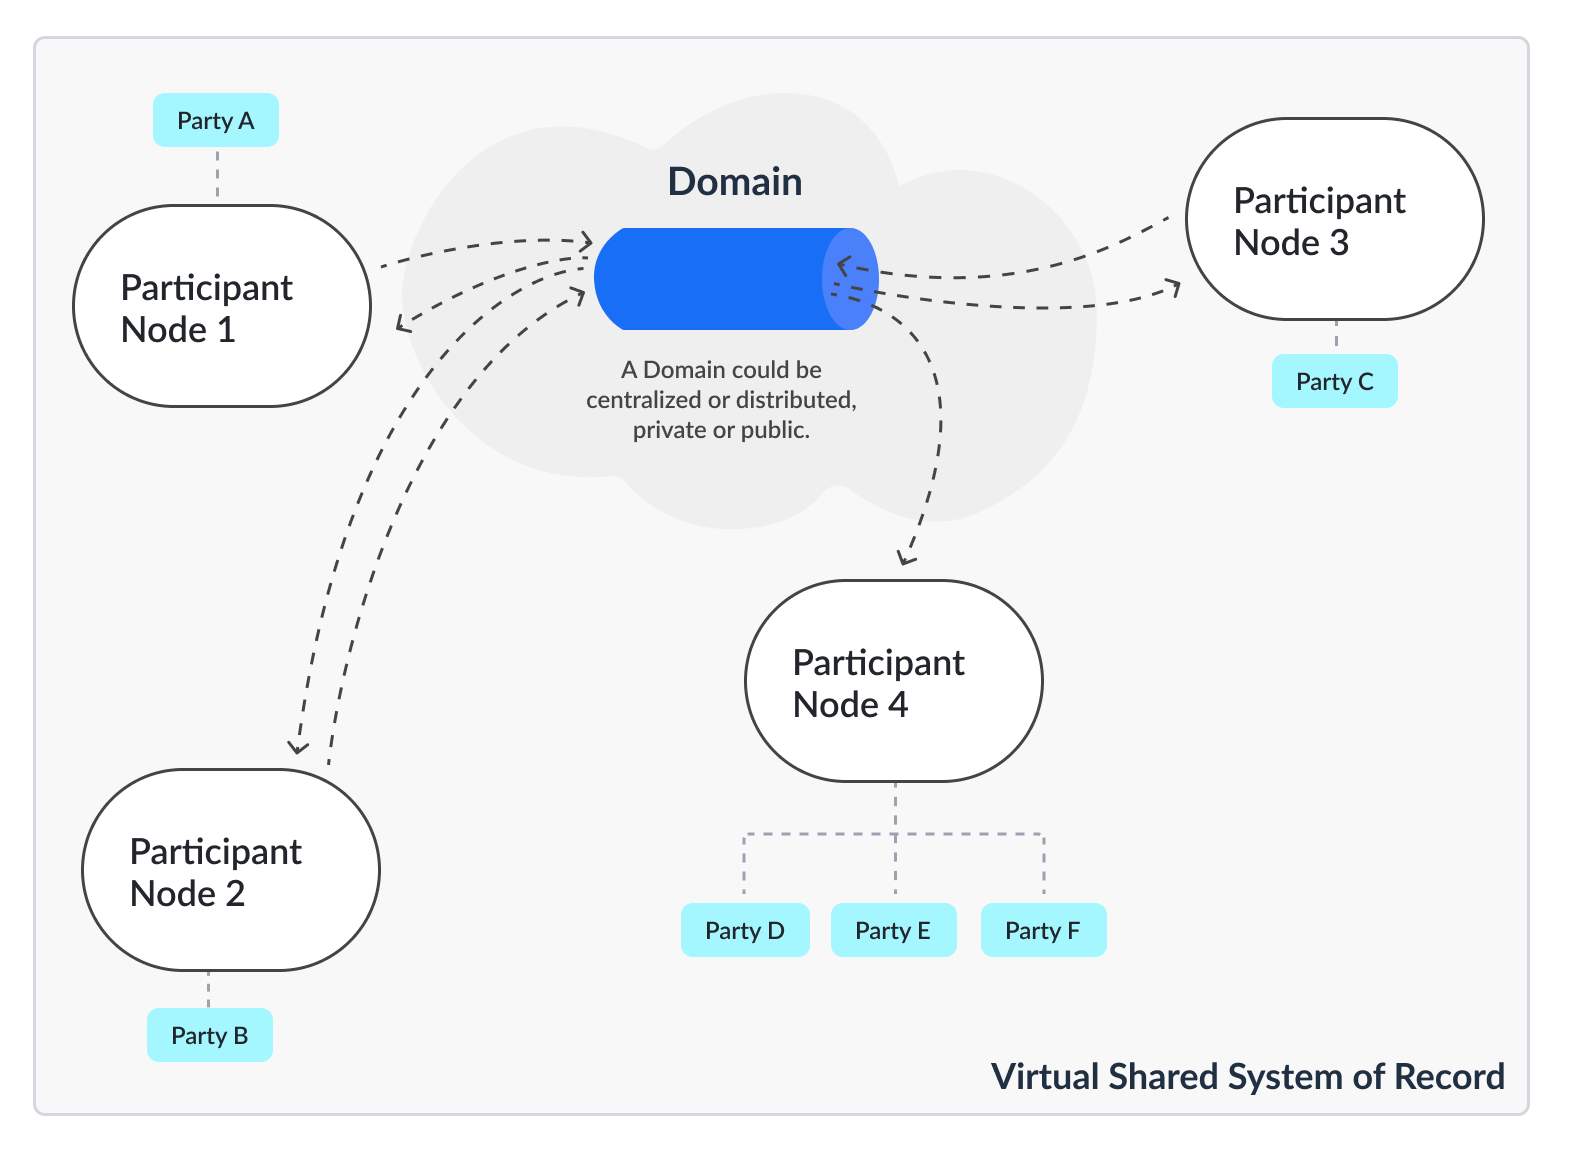
Each party of the application is hosted on a **Participant Node**. The Participant Node stores the party's unique projection and history of the shared system of record. Participant Nodes synchronize by running a consensus protocol (the Canton Protocol) between them, sending encrypted messages through Domains that provide guaranteed delivery and order consistency.
{% hint style="info" %}
For more information about Domains, see [Domains](broken://pages/f7e3c63a81a45de7413b96ef8af9d441e59cf30a).
{% endhint %}
## How Do I Create a Participant?
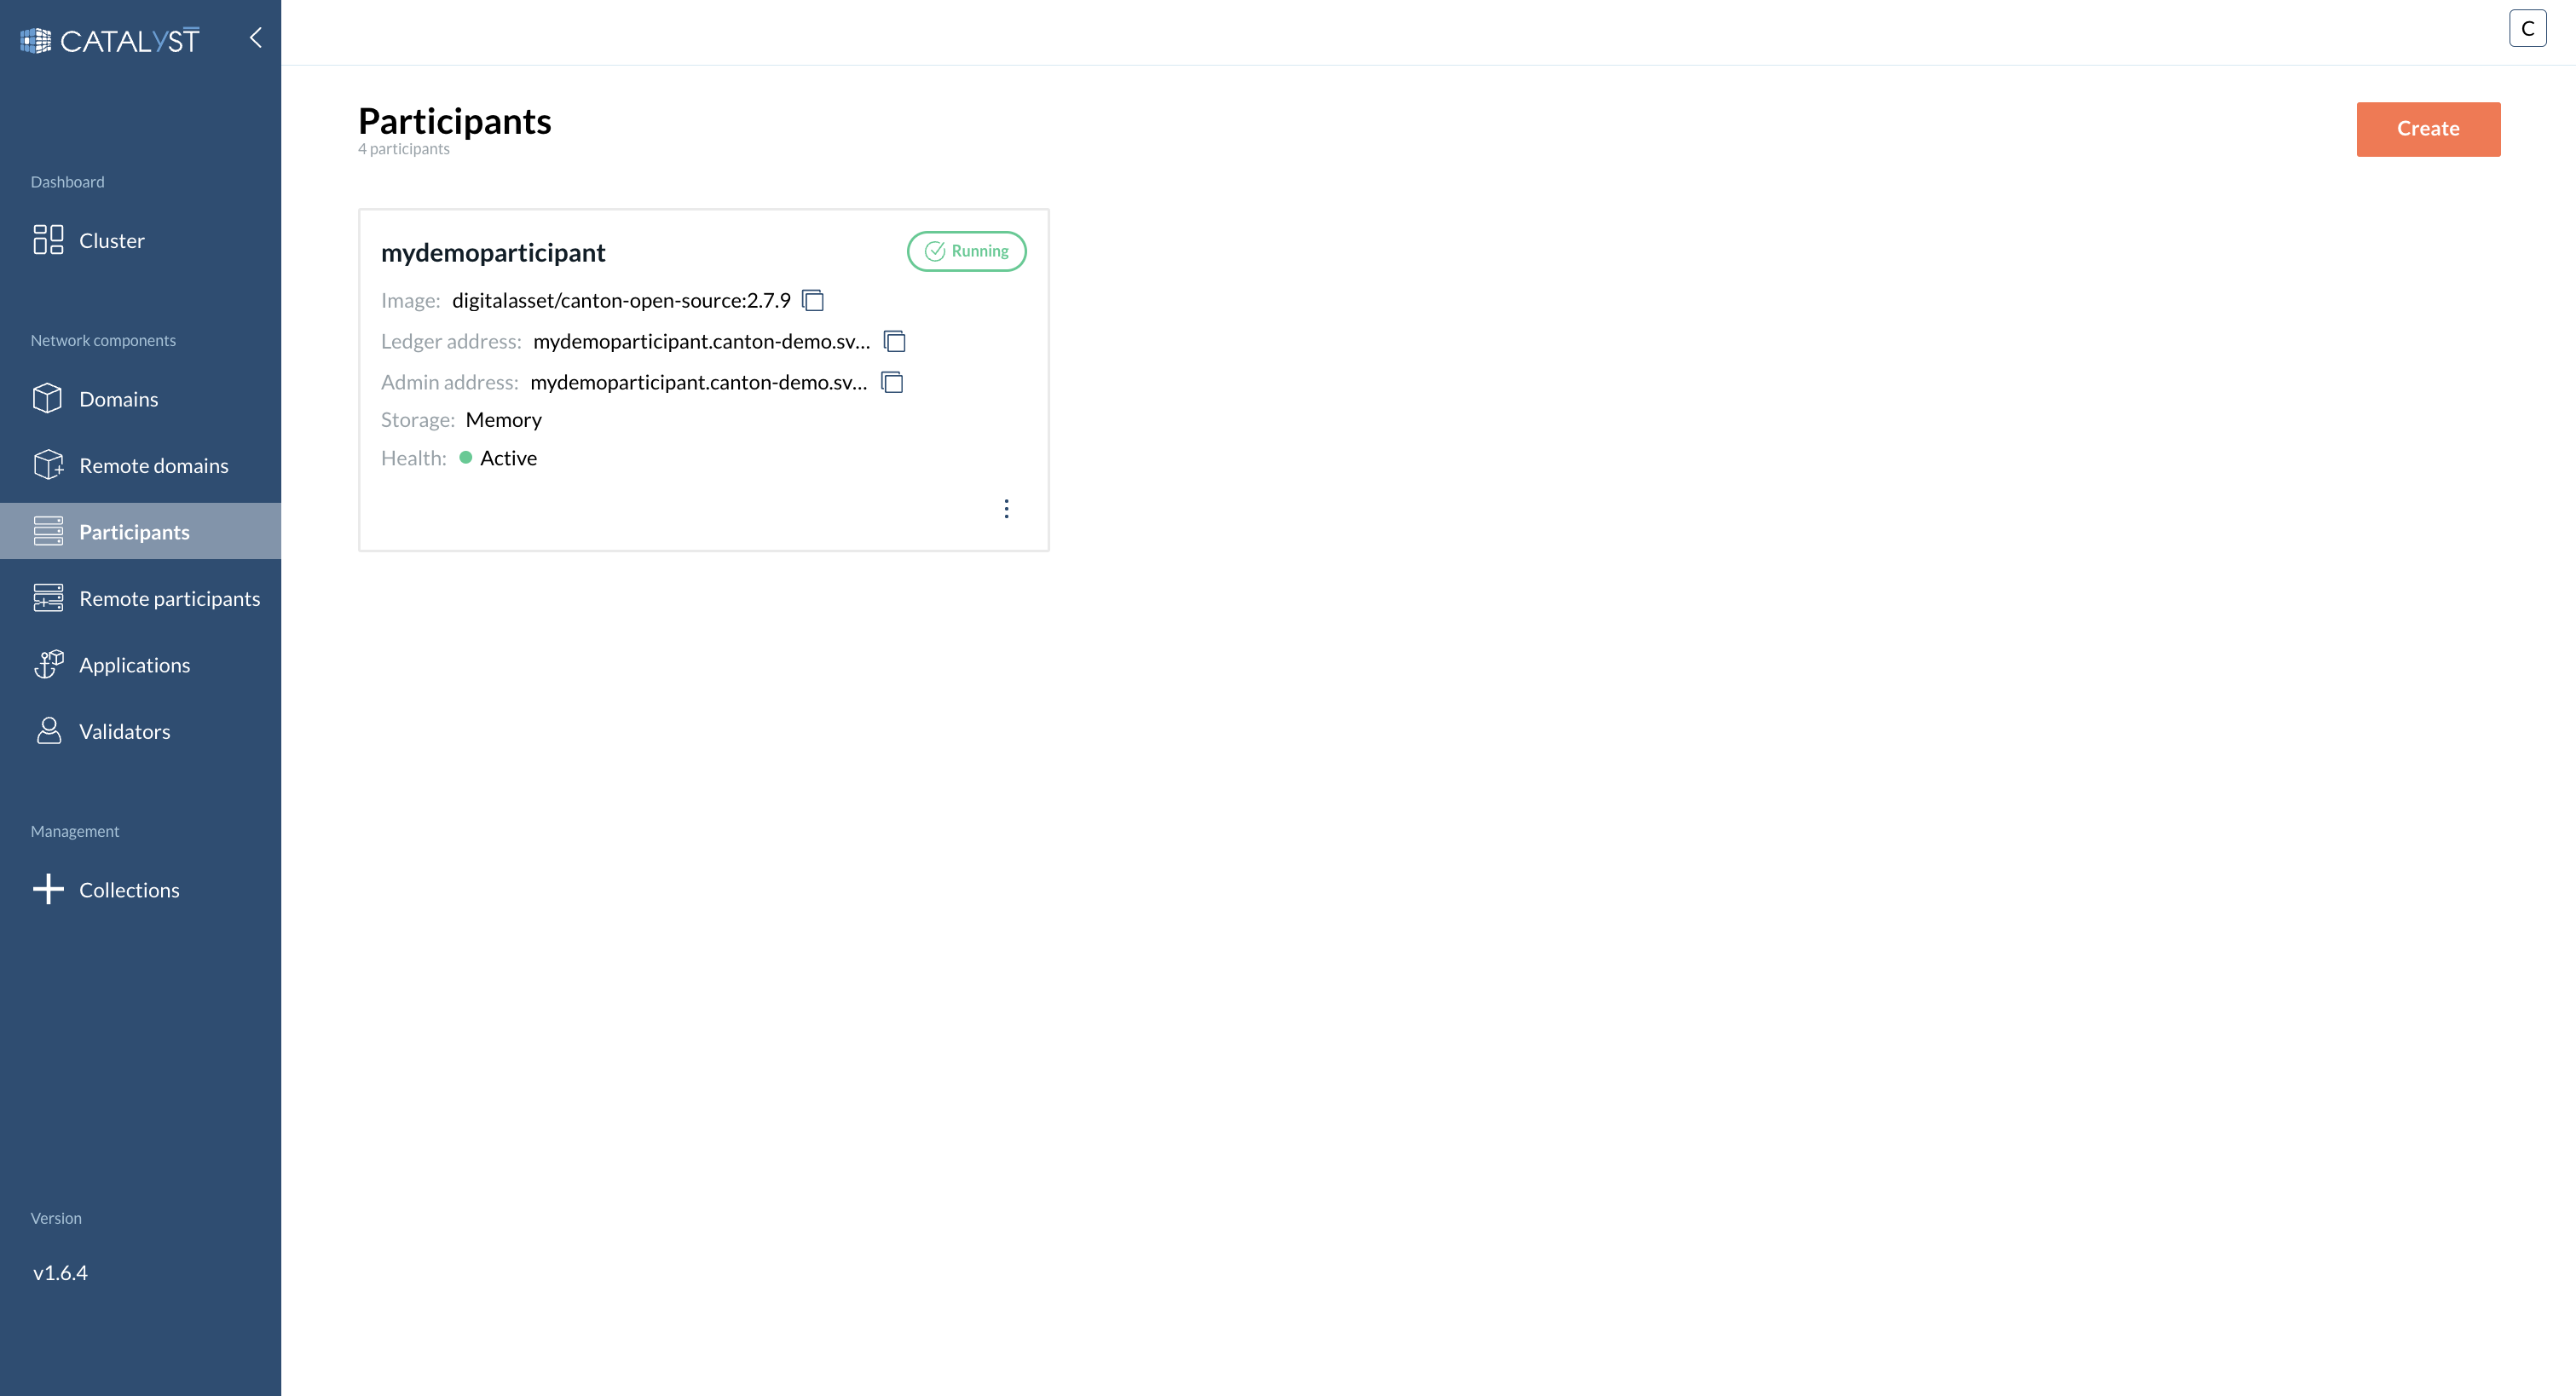
To create a Participant, go to the **Participants** tab and click the **Create** button to open a side window.
{% stepper %}
{% step %}
**Provide a Participant name**
Enter a unique Participant name (required).
{% endstep %}
{% step %}
**Fill in the main settings**
{% hint style="info" %}
Using a predefined image is recommended for compatibility. If you want to use an image from a private repository, specify an `imagePullSecret`.
{% endhint %}
* Choose participant image
* Choose DAR files to upload
* Enable **Navigator** if required
* Enable **Daemon** if required
* **Resources allocation:**
* **Requested CPU** — Guaranteed CPU resources that will be allocated
* **CPU limit** — Maximum CPU resources that will be allocated
* **Requested memory (MB)** — Guaranteed amount of RAM that will be allocated
* **Memory limit (MB)** — Maximum amount of RAM that can be allocated
* **Storage size**
* You can add custom environment variables if needed
{% endstep %}
{% step %}
**Fill in Topology**
* Enable **Embedded Topology** if needed
* **Topology:**
* Choose between form or raw view topology
* Choose **Admin Port**
* Choose **Public port**
* Choose **Storage type:**
{% tabs %}
{% tab title="Memory" %}
No additional configuration required.
{% endtab %}
{% tab title="PostgreSQL" %}
A postgres database will be provisioned in the cluster.
* Choose User
* Choose Password
* Choose Storage size
{% endtab %}
{% tab title="External" %}
A database is expected to be hosted at the given hostname and port with the same name as the participant and a user with the provided credentials.
* Choose User
* Choose Password
* Choose Hostname
* Choose Port
{% endtab %}
{% endtabs %}
* Enable **Authorization Service** if needed
{% endstep %}
{% step %}
**Bootstrap (optional)**
Provide bootstrap commands if needed.
{% endstep %}
{% endstepper %}
## How Do I Connect a Participant to a Domain?
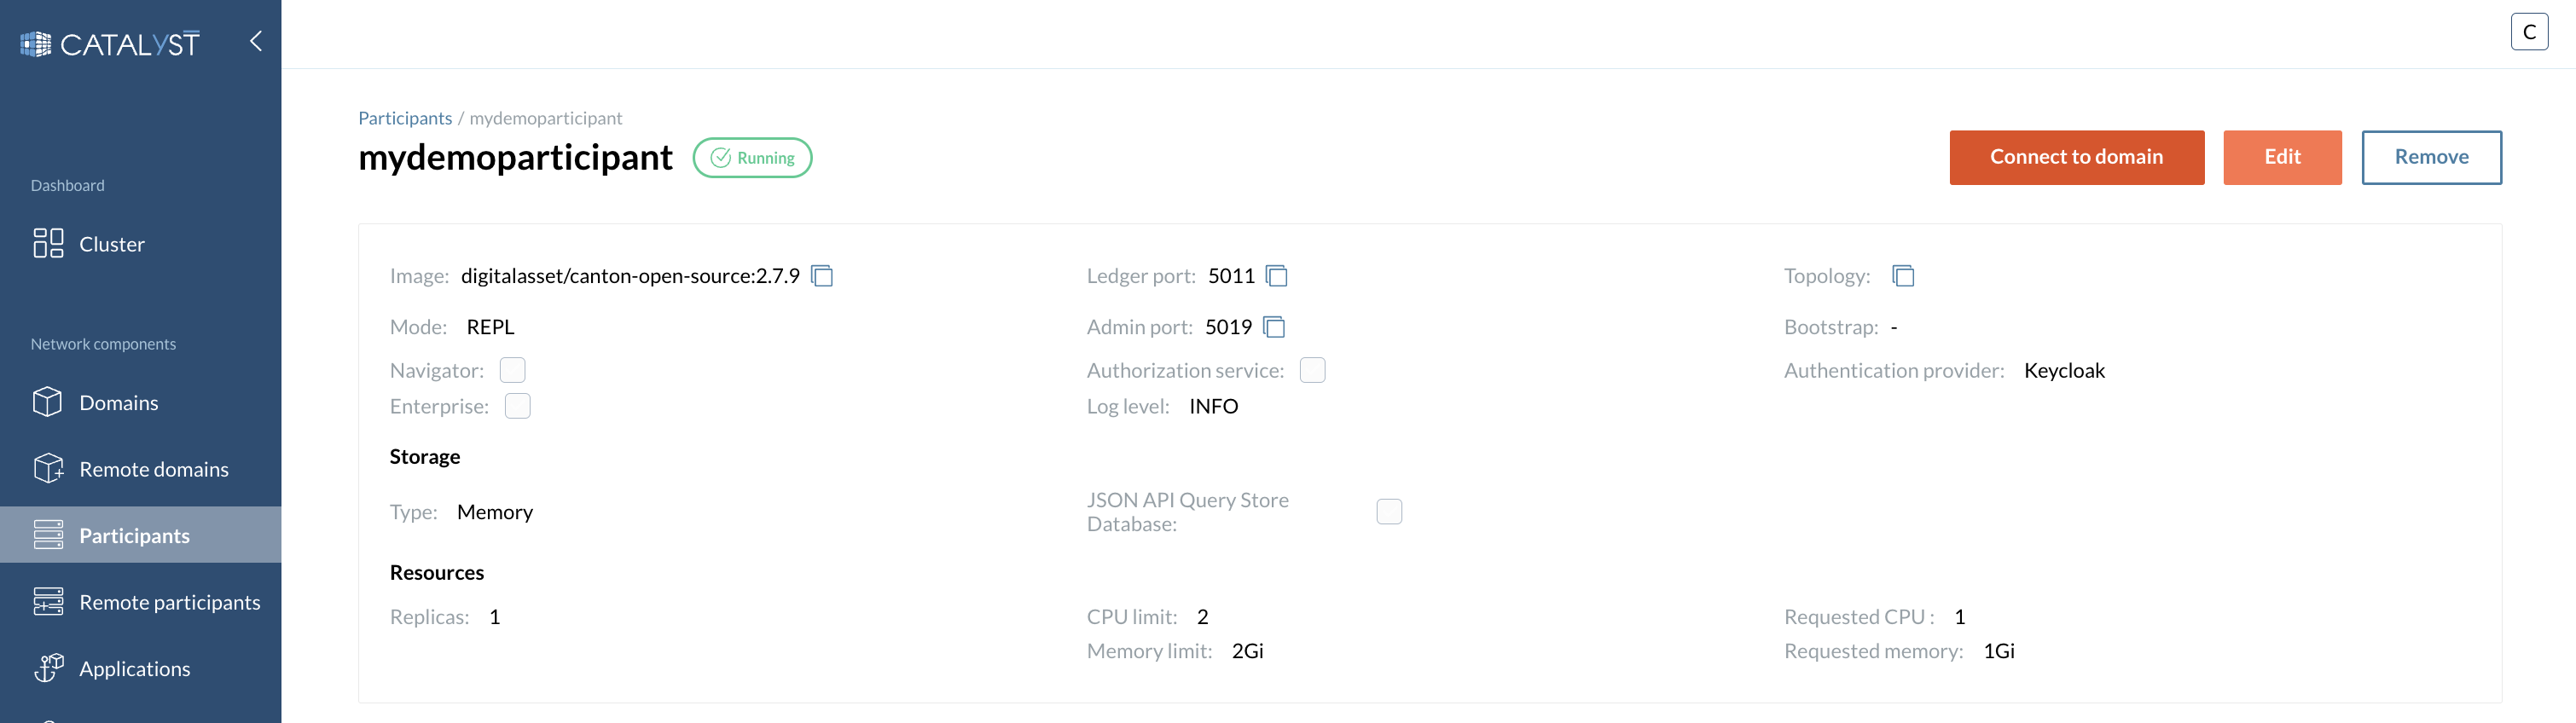
After the participant is created, click the **Connect to domain** button to open a side window.
{% hint style="info" %}
Select either a domain available in this Catalyst Canton console, or connect to any external domain by providing the full domain URL.
{% endhint %}
## How Do I Upload DAR Files to a Participant?
After the participant is created, click the **Upload DAR** button to open a side window.
{% hint style="info" %}
Select one or multiple DAR files to upload to the participant. DAR files can be added to the console through the [Collections](broken://pages/c3e32623075cd946e177c2021c1dada1b8ba346f) tab.
{% endhint %}
## Parties
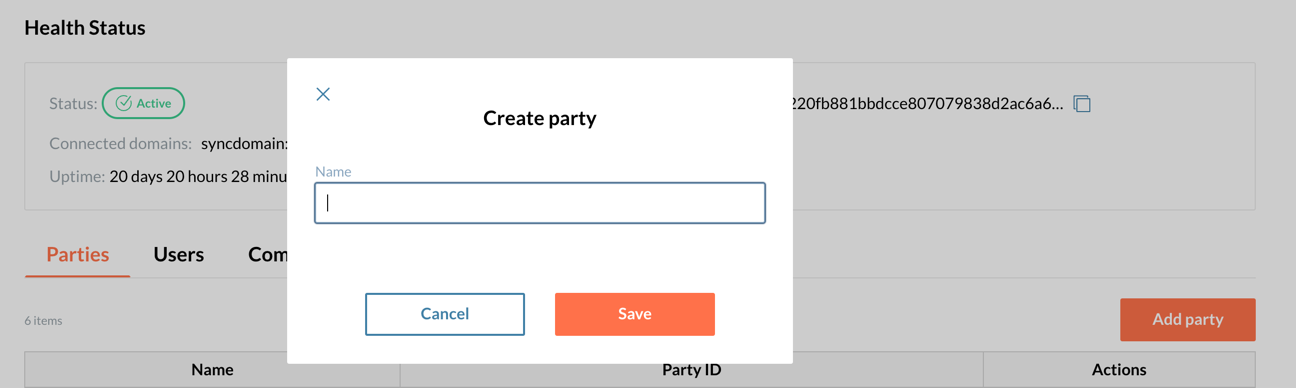
A Party is created by default once a Participant is connected to a Domain. However, Catalyst Blockchain Manager allows you to add additional parties on a participant node.
### Add Party
In the Participants menu, under the **Parties** section, click **Add party**, set the name, and click **Save**.
## User Management
Catalyst Blockchain Manager allows you to manage the user accounts that interact as part of a Party.
### Create a User
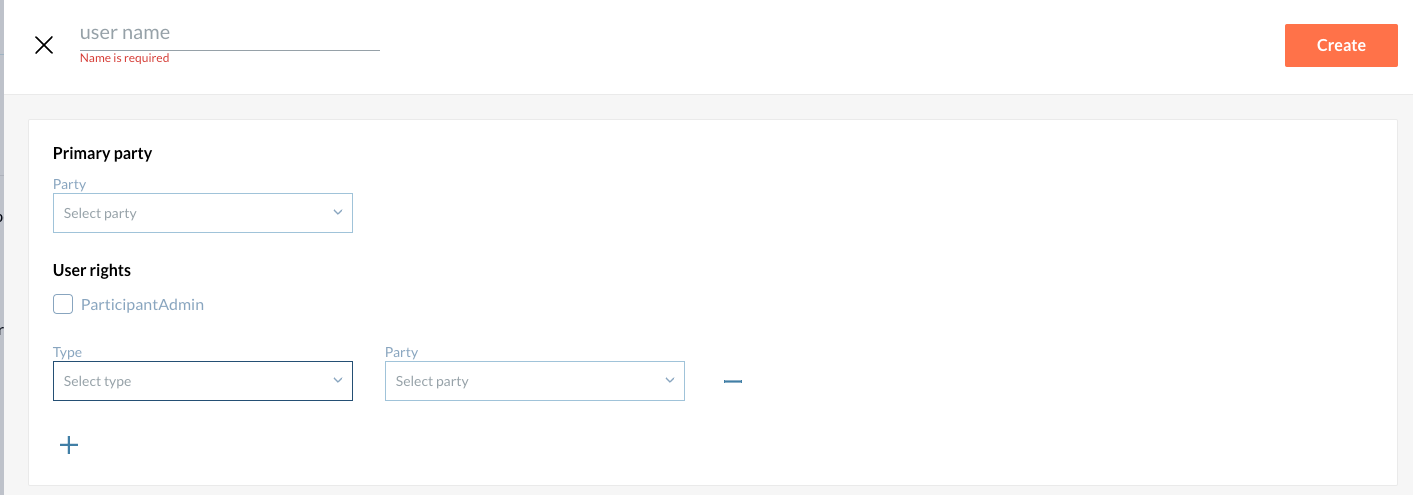
In the Participants menu, under the **Users** section, click **Create user** and select the Primary Party this new user belongs to.
If the new User has admin rights, select the **ParticipantAdmin** checkbox. Otherwise, select the type of right for which party:
* **CanActAs** — The User can interact as the selected Party
* **CanReadAs** — The User has read-only rights but cannot interact on behalf of the Party
### Manage Users
Navigate to the Participants menu, under the **Users** section, and select the action to perform from the right-hand menu column.
---
# Agent Instructions
This documentation is published with GitBook. GitBook is the documentation platform designed so that both humans and AI agents can read, navigate, and reason over technical content effectively. Learn more at gitbook.com.
## Querying This Documentation
If you need additional information that is not directly available in this page, you can query the documentation by asking a question.
Perform an HTTP GET request on the following URL with the `ask` and `goal` query parameters:
```
GET https://docs.catalyx.solutions/catalyx-blockchain-manager/canton-network/version-1.10/network-and-node-management/participants.md?ask=&goal=
```
`ask` is the immediate question: it should be specific, self-contained, and written in natural language.
`goal` is what the user is ultimately trying to achieve, the reason they need the answer. Sharing it helps GitBook give you a better, more relevant answer. A goal is most helpful when it describes the outcome the user wants rather than restating the question. For example, with `ask=how do I create an API token`, a goal like `automate deployments from our CI pipeline` lets GitBook tailor the answer to that use case.
The response will contain a direct answer to the question and relevant excerpts and sources from the documentation.
Use this mechanism when the answer is not explicitly present in the current page, you need clarification or additional context, or you want to retrieve related documentation sections.